
A DIY custom banner can grab attention, convey your message at a glance, and set the tone for any event or promotion, whether it’s a school fair, a trade show, or a community gathering. If you’re new to creating banners, this beginner-friendly guide walks you through planning, design, materials, printing, and finishing, offering a practical workflow you can reuse for future projects. It helps you move from rough ideas to a concise, legible layout by outlining steps for deciding on size, choosing typography, and coordinating color with the overall theme. Along the way, you’ll discover practical ideas for banner aesthetics and a straightforward process that delivers a polished look without relying on expensive software or studio gear. By the end, you’ll have a simple, repeatable method for taking a concept from plan to hanging that fits your budget and yields professional results.
In broader terms, creating a banner is a compact signage project that blends graphic design, typography, and practical messaging for both indoor and outdoor settings, with real-world considerations like viewing distance and weather. Think of it as portable brand communication rather than a static decoration, where layout hierarchy, contrast, and legibility guide the viewer from headline to call-to-action. A structured approach keeps production accessible for beginners, emphasizing durable materials, simple finishing options, and a workflow you can repeat for different events. To help you translate ideas into a finished display, this section uses accessible terminology—signage, display asset, and call-to-action placement—while still focusing on planning, printing, and installation. Finally, banner printing tips are included to help you achieve crisp colors, consistent ink coverage, and durable results when you print at home or through a professional service.
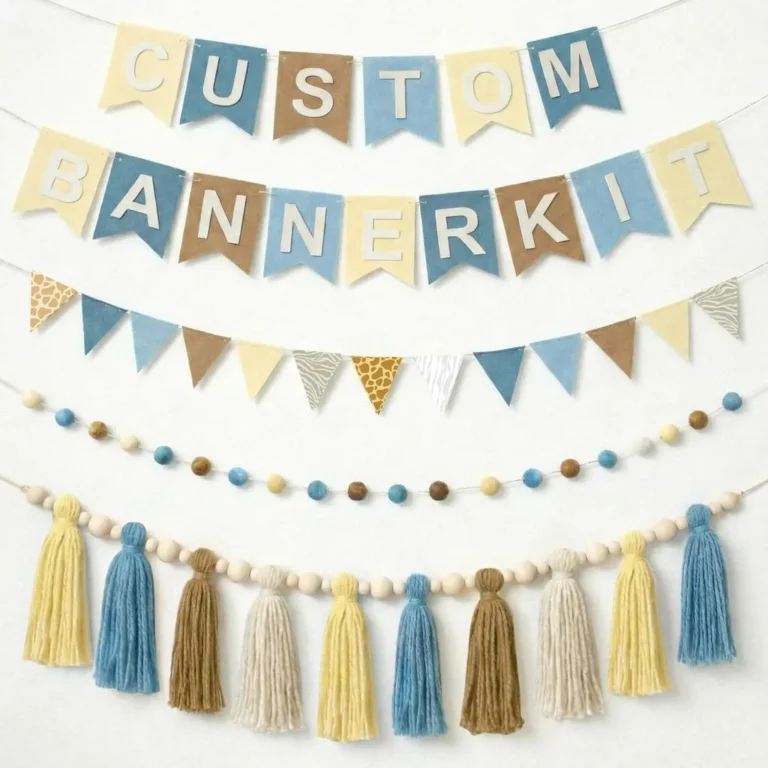
Planning Your DIY Banner: From Concept to Size and Message
Before you design, define the banner’s purpose, audience, and display environment. Start with questions: What message should viewers absorb at a glance? Will the banner be read from a distance indoors or outdoors? For those learning how to make a banner, this planning phase sets size, orientation, and critical priorities. If you’re exploring DIY banner ideas, jot down a simple headline and a couple of supporting lines to guide the rest of the workflow.
Sketch a rough layout that places the headline prominently at the top, with a logo or image in the lower region. For beginners, use large typography and a high-contrast palette to maximize legibility. Consider common beginner sizes like 24×36 or 24×48 inches as starting points, and keep the color palette to 2–3 colors that align with the brand or event.
Materials and Finishing: The Cornerstones of a DIY Custom Banner
Choose the right materials based on where the banner will live. Vinyl is durable for outdoor use; fabric yields a premium look for indoors. For beginners, this is the time to think about finishing options such as grommets, hemming, or pole pockets, which affect how easy it is to hang and how long the banner lasts. This is a core part of banner making for beginners, because material choice directly influences durability and cost.
Your DIY custom banner should balance weight, stiffness, and message clarity. If you anticipate windy or humid conditions, consider reinforced corners and weather-rated inks. The finishing choices—like hemmed edges or grommets—are not just cosmetic; they protect the banner’s edges and improve longevity in real-world use.
Design Principles for Custom Banner Design: Typography, Color, and Layout
Design principles for a standout message hinge on the right typography, color, and composition. In a custom banner design, pair a bold display headline with a clean sans-serif for supporting text, and keep the type large enough to read from a distance. Use a limited palette (2–3 colors) with strong contrast to maximize legibility and brand recognition.
If you’re exploring DIY banner ideas, start with a single focal point and a simple layout to translate ideas quickly into print-ready art. When learning how to make a banner, test typography at actual size, check for crowding in the text, and ensure negative space guides the eye toward the main message. This approach helps beginners achieve a polished, professional look.
From Concept to Print: The Printing Tips and Workflow for DIY Banners
From concept to print requires careful attention to file specs and color management. Banner printing tips include designing at high resolution (300 DPI at final size), converting fonts to outlines, and including a bleed area of about 1/8 inch. For DIY projects, save in PDF, TIFF, or high-resolution PNG to preserve detail during the print process.
A practical workflow for printing and finishing keeps projects on track. Decide whether to print at home or use a professional service, then verify color accuracy and material compatibility. After printing, perform clean trimming, apply hem or grommets, and mount the banner for display. This step-by-step path is essential for reliable results when you’re learning how to make a banner.
Display, Durability, and DIY Banner Ideas for Every Event
Display considerations shape how long your banner lasts. Indoor banners may enjoy fabric’s premium feel, while outdoor banners require weather-resistant inks and laminated protection. For windy venues, lamination or rigid mounting solutions can improve durability without sacrificing readability. These DIY banner ideas balance aesthetics with resilience, ensuring the message remains legible across conditions.
Finally, plan hanging and installation with practical methods—ropes, hooks, or pole pockets—and choose a spot with clear sightlines and minimal visual noise. Revisit the design to ensure the main headline remains the focal point even when viewed from afar. Whether you’re promoting a sale or a community event, these ideas help you execute a durable, visually compelling banner that aligns with your DIY banner ideas.
Frequently Asked Questions
What is a simple approach to starting a DIY custom banner for a beginner?
Define the banner’s purpose and display location, choose a size, pick a high-contrast 2–3 color palette, and keep the message short with large typography. Create artwork at 300 DPI, include a 1/8 inch bleed, and decide whether to print at home or with a professional service. Finish with basic options like grommets or a hem for durability.
How do I design a custom banner design that grabs attention for a promotion?
Start with a bold main headline and a single focal point. Use 2–3 brand colors with strong contrast, extra white space, and legible typography from a distance. Use a simple layout that follows your brand guidelines to ensure a consistent custom banner design.
What are the essential steps in how to make a banner for beginners?
Plan the size and orientation, choose your design method, and prepare print-ready art (300 DPI with bleed and outlines for text). Pick suitable indoor or outdoor materials, add finishing touches like grommets or hems, then print and assemble before hanging.
What banner printing tips should I follow when working on a DIY banner project?
Use print-ready files (PDF/TIFF/PNG at high resolution), convert fonts to outlines or use vector text, verify color accuracy, and include bleed. Choose the right material for indoor vs outdoor use and request a proof if possible.
How can DIY banner ideas help create a durable, outdoor-ready banner?
Leverage DIY banner ideas to select weather-resistant materials (vinyl with UV inks, optional lamination), plan for wind with simple layouts, and add durable finishing (hemming, grommets). Test readability in outdoor light to ensure your banner ideas translate into a durable, outdoor-ready banner.
| Topic | Key Points | Notes |
|---|---|---|
| What you’ll learn |
|
Focus on an end-to-end workflow and practical outcomes. |
| Why a DIY banner matters |
|
Highlights the value and craft of DIY banners. |
| Starting with the right focus |
|
Set clear goals for effective design. |
| Main steps: from plan to print |
|
A concise workflow from concept to finished banner. |
| A practical workflow for beginners |
|
Starter checklist to implement quickly. |
| Incorporating the title and keywords naturally |
|
SEO-friendly writing guidance. |
| Design and typography guidance |
|
Prioritize legibility and visual hierarchy. |
| Materials and tools checklist |
|
Comprehensive starter list. |
| Quality targets and common mistakes to avoid |
|
Tips to ensure professional results. |
| Outdoor considerations and durability |
|
Durability-focused guidance. |
| A simple template you can adapt |
|
A reusable starting point for new banners. |