
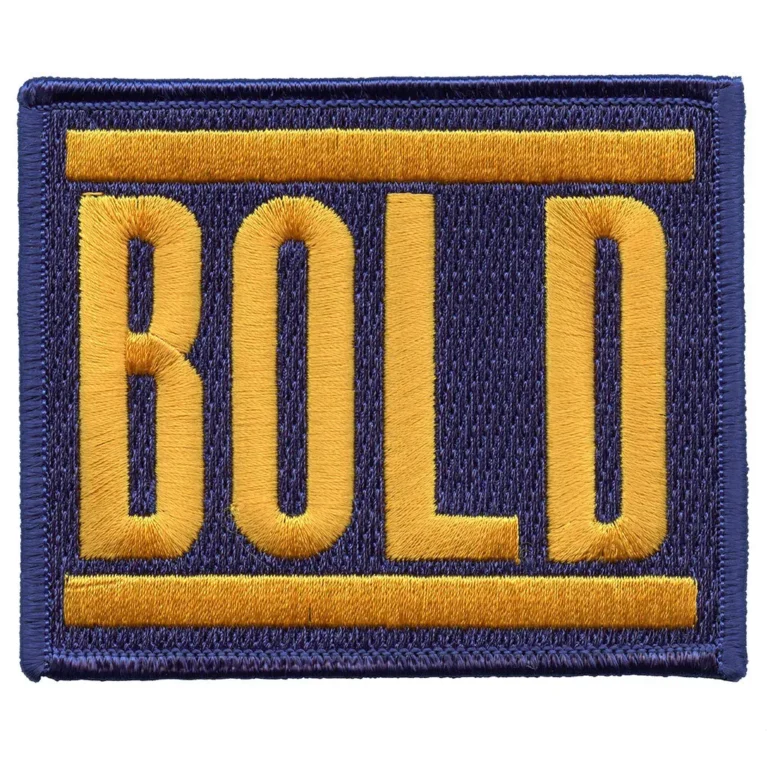
Bold embroidered patches have become a defining element of modern merchandise, turning simple apparel and accessories into walking billboards for a brand or cause. From DIY streetwear to premium corporate swag, they deliver personality, durability, and a tangible sense of quality while supporting embroidered patches for merch. Designers rely on smart choices in color strategy, custom patch design, patch embroidery techniques, and thoughtful branding to create patches that feel premium and wearable. As a visible piece of your brand story, logo patches can elevate product lines and spark fan attachment. This guide walks through the journey from concept to production, offering practical tips on concepting, designing, and producing patches that resonate in crowded markets.
Beyond the umbrella term, you’ll hear terms like sewn-on badges, appliqué patches, and embroidered emblems that function as portable brand identifiers. These variations share the same purpose: to reinforce identity on garments, bags, and merch without sacrificing durability. Thinking in terms of custom patch design and production, designers map the concept to surfaces such as denim, caps, and jackets, while considering size, shape, and edge finishing. For searchers, related terms such as logo patches, branded insignia, and patch badges help connect the topic to related queries and improve discoverability.
Concept to Creation: Crafting a Strong Custom Patch Design for Merch
Starting with a precise brief is the cornerstone of a successful custom patch design for merch. Define the story you want the patch to tell, the target audience, and how the patch will be worn—on jackets, bags, hats, or denim. This clarity helps shape the icon, the slogan, and the silhouette into a cohesive concept suitable for embroidered patches for merch. By aligning on message and usage, you set the stage for scalable production and consistent branding across product lines.
Translate the concept into production-ready artwork by relying on vector files, clean outlines, and scalable margins. Specify color codes (Pantone or equivalent) and stitch counts to avoid surprises when printing or sewing thousands of units. The goal is a design that reads well up close and from a distance, and that translates smoothly to logo patches and other branded elements across different merch items.
Color Strategy and Contrast: Elevating Logo Patches with Readable Shades
Color strategy sets the tone for recognition. Start with brand-approved primary colors and test contrast to ensure legibility on dark fabrics, light backgrounds, and busy apparel surfaces. When designing patches for merch, contrast is not just style; it minimizes misreads during embroidery and at small scales.
Develop a color matrix that accounts for multiple colorways, and consider metallic or neon accents for emphasis. Document thread counts, backing color, and finishing options so the patch remains legible across items. For logo patches and other branding elements, consistent color fidelity reinforces recognition across the retail experience and online catalogs.
Shape, Size, and Layout: Practical Decisions for Embroidered Patches for Merch
Shape and layout define the patch’s silhouette and placement. Choose round, shield, rectangular, or custom contours that frame the central icon while keeping edges readable at small sizes. For merch programs, consider typical surfaces—caps, sleeves, chest panels, tote sides—and ensure the patch looks balanced on denim, leather, or knit fabrics.
Plan size pragmatically: large patches grab attention but may be inconvenient on some garments. Create a layout system that works across the range, so the same concept can scale from a cap to a jacket back. A well-considered shape and alignment improve recognition and ensure the patches function as durable brand identifiers across products.
Bold Embroidered Patches: Materials, Backing, and Edge Finishes for Longevity
Materials and backing choices set the tactile and durable feel of your patches. Twill, felt, and leather-backed options each deliver distinct texture and wash performance. When you want to emphasize longevity and premium appeal, pairing with a secure backing like iron-on, sew-on, or Velcro helps customers choose the best fit for their use. For bold embroidered patches, a Merrow edge provides a clean, durable border that reinforces shape integrity.
Stitch types influence the patch’s look as much as the fabric. Satin for crisp outlines and tighter fill stitches for solid areas create depth while preserving legibility. Layer thread colors to simulate shading with controlled negative space. For contexts where boldness is essential, test multiple backing choices and edge finishes to balance durability with comfort and cost, especially for patches designed for frequent wash cycles.
Production and Quality Control: From Proof to Scale with Patch Embroidery Techniques
Production considerations: select embroidery partners who can deliver consistent stitching, color fidelity, and edge finishing. Obtain small-run proofs to validate craftsmanship before large-scale runs, and ask about MOQs, pricing tiers, and lead times. Maintaining clear specs reduces rework and helps ensure the patch embroidery techniques you’ve tested translate reliably into mass production.
Quality control is essential for merch success. Create a detailed spec sheet with Pantone codes, thread counts, and backing choices. Run pilot batches to verify durability through washing and abrasion tests, and build a feedback loop with manufacturers to address any changes in fabric or color across shipments.
Brand Storytelling with Patches: Integrating Logo Patches into Your Merch Strategy
Brand storytelling through patches hinges on deliberate alignment with your logo patches and broader brand marks. Use patches as collectible items that reinforce core values, yet remain distinct enough to function as standalone artifacts in your merch line. Coordinate with product teams to ensure consistency in size, color, and edge finishing across the patch family.
Strategy-wise, integrate patches into a cohesive merch plan by pairing them with other branding elements, co-branded patches for collaborations, and series-based releases that tell a narrative across drops. By focusing on a consistent approach to design systems, color, and placement, you build customer recognition for logo patches and strengthen overall brand attachment to your products.
Frequently Asked Questions
What is the first step to defining a concept for bold embroidered patches for merch?
Start with a clear brief that defines the message, audience, and usage. Translate this into a central icon, a concise slogan, and a shape that enhances recognition. For embroidered patches for merch, ensure the concept translates well across denim, jackets, and tote bags so the patch carries your brand across product lines.
How should you approach color strategy for bold embroidered patches used in merch?
Begin with your brand color palette and prioritize contrast for readability at small sizes. Consider the backing color and thread counts, and create a color matrix for multiple colorways. This approach supports embroidered patches for merch and helps logo patches stay legible and impactful.
What patch shapes and sizes maximize recognition for logo patches across different products?
Choose shapes that frame the design without crowding edges (round, shield, rectangular, or custom silhouettes). Size should balance visibility with practicality on hats, jackets, backpacks, and panels. Plan placements so logo patches are instantly recognizable on common surfaces.
Which materials, backings, and finishing options influence durability and user experience?
Select materials like twill, felt, or leather-backed fabrics, and use appropriate stitch types (satin for outlines, fill for solid areas). Backing options (iron-on, sew-on, or Velcro) affect practicality, while a Merrow edge provides a clean, finished border that enhances durability and premium feel.
What are the essential steps to turn a concept into production-ready artwork for patch embroidery techniques?
Deliver production-ready artwork with clean vector lines, clear Pantone color codes, and specified stitch counts. Create multiple mockups on different garment colors to ensure legibility and impact. Prepare a thorough spec sheet so the custom patch design translates consistently to thousands of units.
How do you decide between DIY production and professional partners for bold embroidered patches?
Balance goals, timeline, and budget. Evaluate MOQs, proofs, and lead times. DIY approaches suit small runs or fan art, while professional partners help scale for a full merch program while maintaining quality and consistent patch embroidery across products.
| Element | Key Points | Details |
|---|---|---|
| Concept and brief | From Idea to Patch: designing bold embroidered patches for merch; start with a clear brief and fearless design language. | Patches convey culture, values, and identity; plan for messaging that translates across products. |
| Color strategy | Use a primary palette from brand guidelines; ensure contrast and readability; consider backing color and thread counts. | Create color matrices for multi-colorways to preserve legibility on various backgrounds. |
| Shape and layout | Choose shapes (round, shield, rectangular, custom) that frame design and fit typical surfaces (denim, jackets, caps). | Size for impact without crowding; plan placements on chest, sleeve, cap crown. |
| Materials and backing | Fabrics like twill, felt, leather; stitch types (satin for outlines, fill for solid areas); backing options (iron-on, sew-on, Velcro); consider Merrow edge. | Durability, washability, and premium feel influence choice; backing and edge finish affect practicality and aesthetics. |
| Design execution | Produce production-ready artwork with clean vectors, color codes, and scalable margins; test mockups across garment colors. | Ensure legibility and consistent results at scale; align with existing product line. |
| Embroidery techniques | Satin stitches for outlines; fill stitches for color areas; layer threads for depth; manage negative space and legibility. | Balance texture with readability, especially for small sizes; avoid overly complex details. |
| Branding integration | Reinforce branding with logo patches while keeping patches collectible and distinct. | Coordinate size, color, and edge finishing to build a cohesive patch family. |
| Production considerations | Choose reliable manufacturers; request proofs; consider MOQs, pricing at scale, and lead times. | Balance premium feel with feasible cost for wholesale and retail partners. |
| Finishing and packaging | Packaging, care instructions, and presentation elevate perceived quality and reduce returns. | Limited editions, colorways, and collaborations can drive demand. |
| DIY vs professional | Decide between in-house design/production for test runs vs partnering for scale. | Professional partners often ensure consistency, safety standards, and reliable fulfillment. |
Summary
Conclusion: Bold embroidered patches—more than decorative accents—serve as portable ambassadors for a brand, turning ordinary merch into collectible symbols. A thoughtful From Idea to Patch process blends creative concepting, material selection, precise embroidery techniques, and trusted production to build a patch program that strengthens identity and drives engagement. Start with a focused brief, test prototypes, and scale with reliable partners to deliver patches that look bold and perform reliably across products.